
3D product modeling with hotspot integration is more than just a trend-it’s becoming a must-have for modern e-commerce and digital marketing. Businesses that want to create interactive and immersive product experiences need a clear understanding of how these models are developed.In this blog, we’ll walk you through the step-by-step process of creating 3D product models with hotspots, from concept to web integration, ensuring you get both quality visuals and seamless performance online.
Step 1: Collecting Reference Data
The process begins with gathering accurate product data.- CAD files, blueprints, or engineering drawings provide technical precision.
- High-resolution product images help capture textures, colors, and finishes.
- Physical measurements ensure the model is true-to-scale.
Step 2: Creating the Base 3D Model
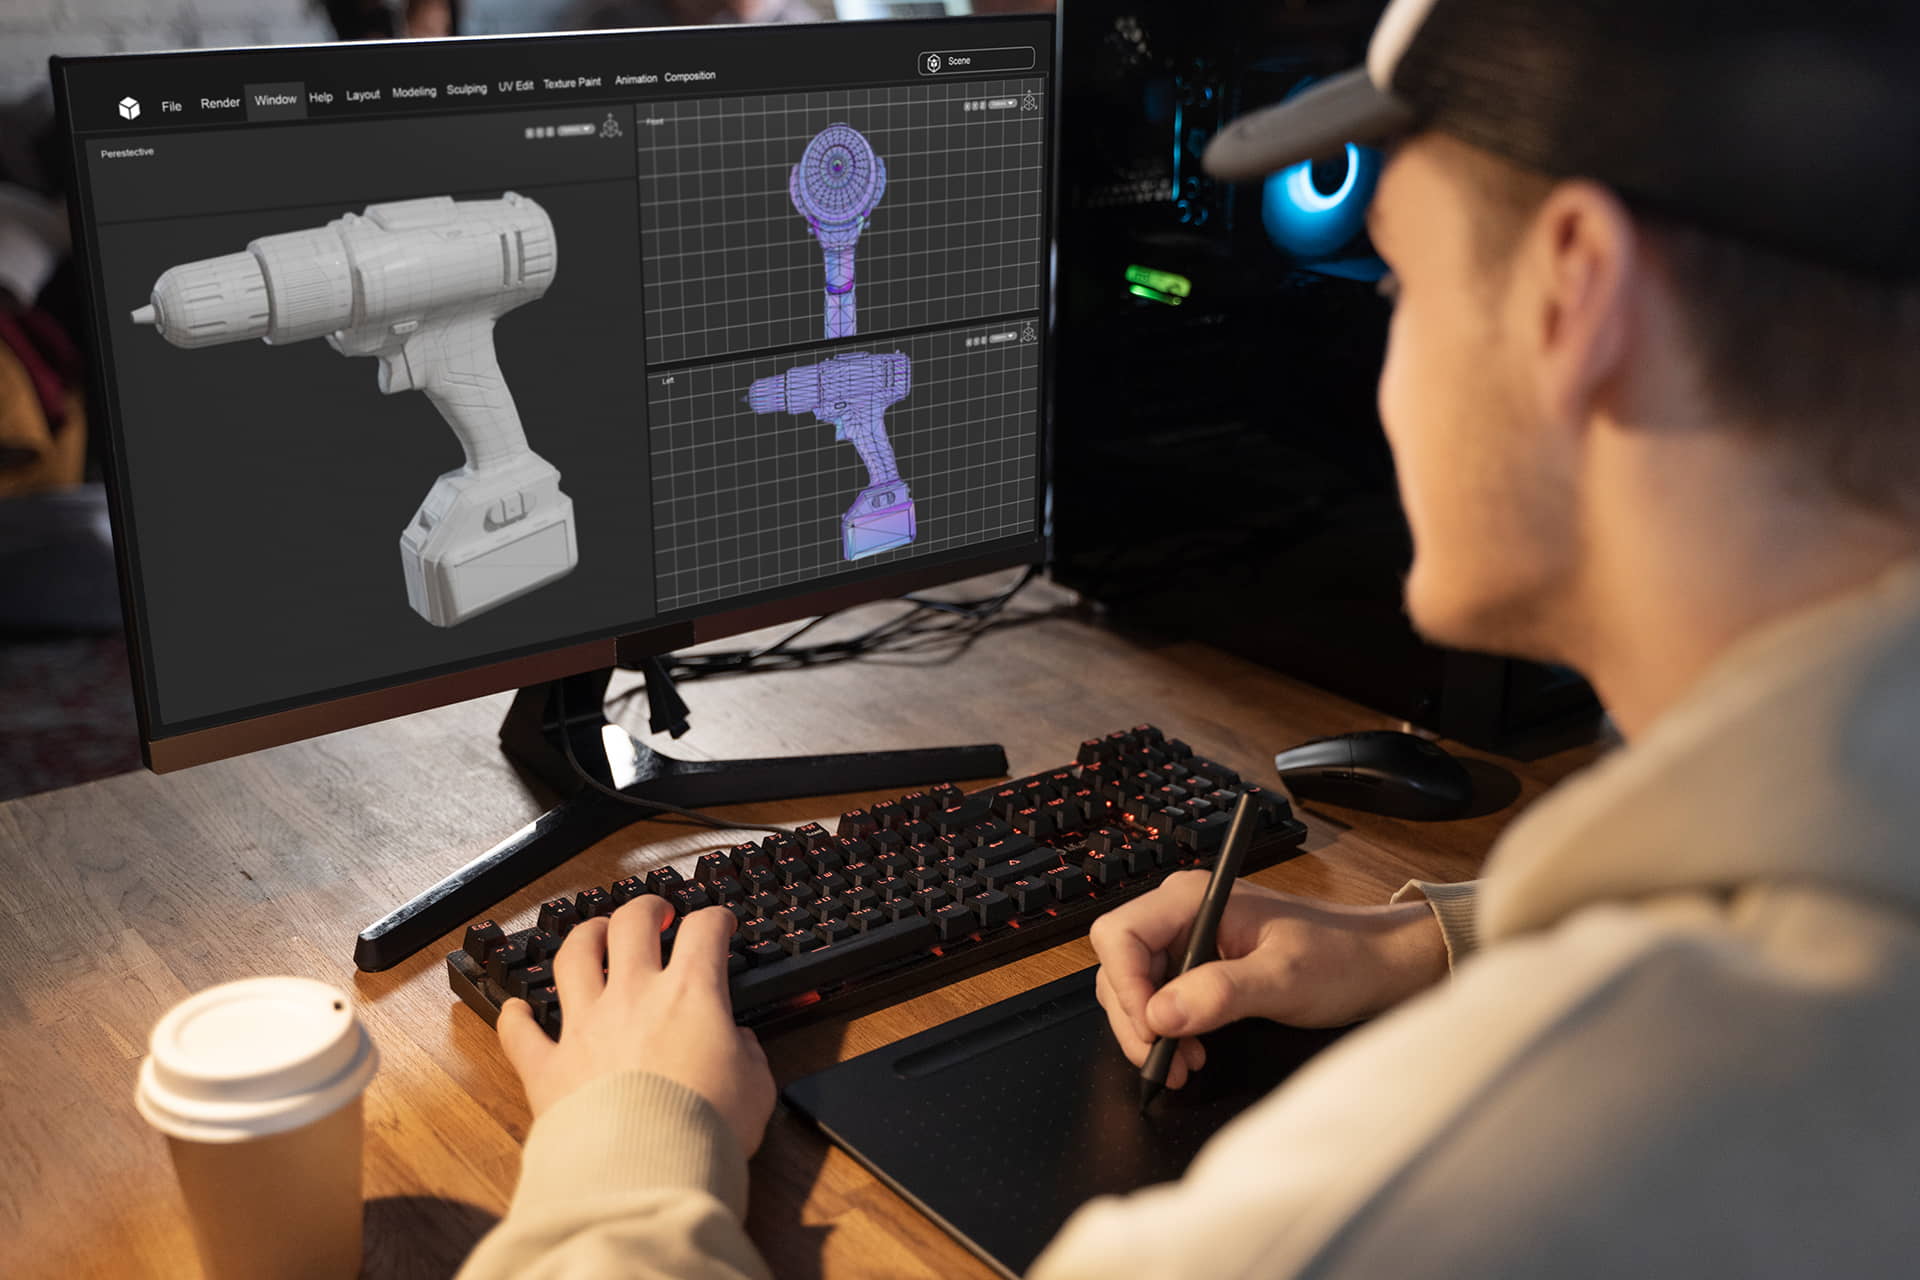
Using the reference materials, 3D designers build the base geometry of the product.- Focus on accurate shapes and proportions.
- Use software like Blender, Maya, or 3ds Max for professional modeling.
- Decide between high-poly (detailed) or low-poly (web-optimized) models depending on use case.
Step 3: Applying Textures and Materials
Once the shape is ready, textures and materials bring the product to life.- Use PBR (Physically Based Rendering) textures for realistic lighting and reflections.
- Apply branding elements such as logos or patterns.
- Optimize texture sizes to avoid slowing down website performance.
Step 4: Optimizing for the Web
Web-ready models need to be lightweight and responsive.- Reduce polygon count without compromising quality.
- Export in formats like glTF, USDZ, or OBJ for maximum compatibility.
- Test across browsers and devices for smooth performance.
Step 5: Adding Hotspot Interactivity
Hotspots transform 3D models into engaging experiences.- Place hotspots at key product features.
- Add text, images, videos, or purchase links inside hotspots.
- Ensure hotspots are intuitive and non-intrusive.
Step 6: Integrating with the Website
The interactive model is then embedded into your website or e-commerce platform.- Use WebGL, Three.js, or iframe integration.
- Ensure compatibility with WooCommerce, Shopify, or Magento stores.
- Provide fallback 2D images or videos for slower connections.
Step 7: Testing and Quality Assurance
Before launch, the model undergoes rigorous testing.- Check loading speed, responsiveness, and hotspot functionality.
- Test across multiple devices and browsers.
- Fix issues related to textures, alignment, or hotspot accuracy.
Step 8: Launch and Optimization
Finally, the model is launched and monitored for performance.- Track engagement metrics (time spent, interactions, conversions).
- Optimize file sizes and hotspot placement if needed.
- Keep models updated with new features or product changes.
Conclusion
Creating a 3D product model with hotspot integration is a structured process that combines technical expertise, creative design, and optimization for the web. By following this step-by-step workflow-from data collection and modeling to web integration and optimization-businesses can deliver immersive product experiences that build trust and increase sales.At 360Biznus, we specialize in end-to-end 3D product modeling services, ensuring your products are not only visually stunning but also fully interactive and web-ready.
Get in Touch
Whether you want to develop a new 360 Virtual Tour, 3D Product Display, 360 Product Spin Photography, Google 360 Street View or update an existing 360 Virtual Tour, we're eager to assist.
+91-9999896100 | info@360biznus.com
Send Us a Message
Portfolio
Browse All Portfolio