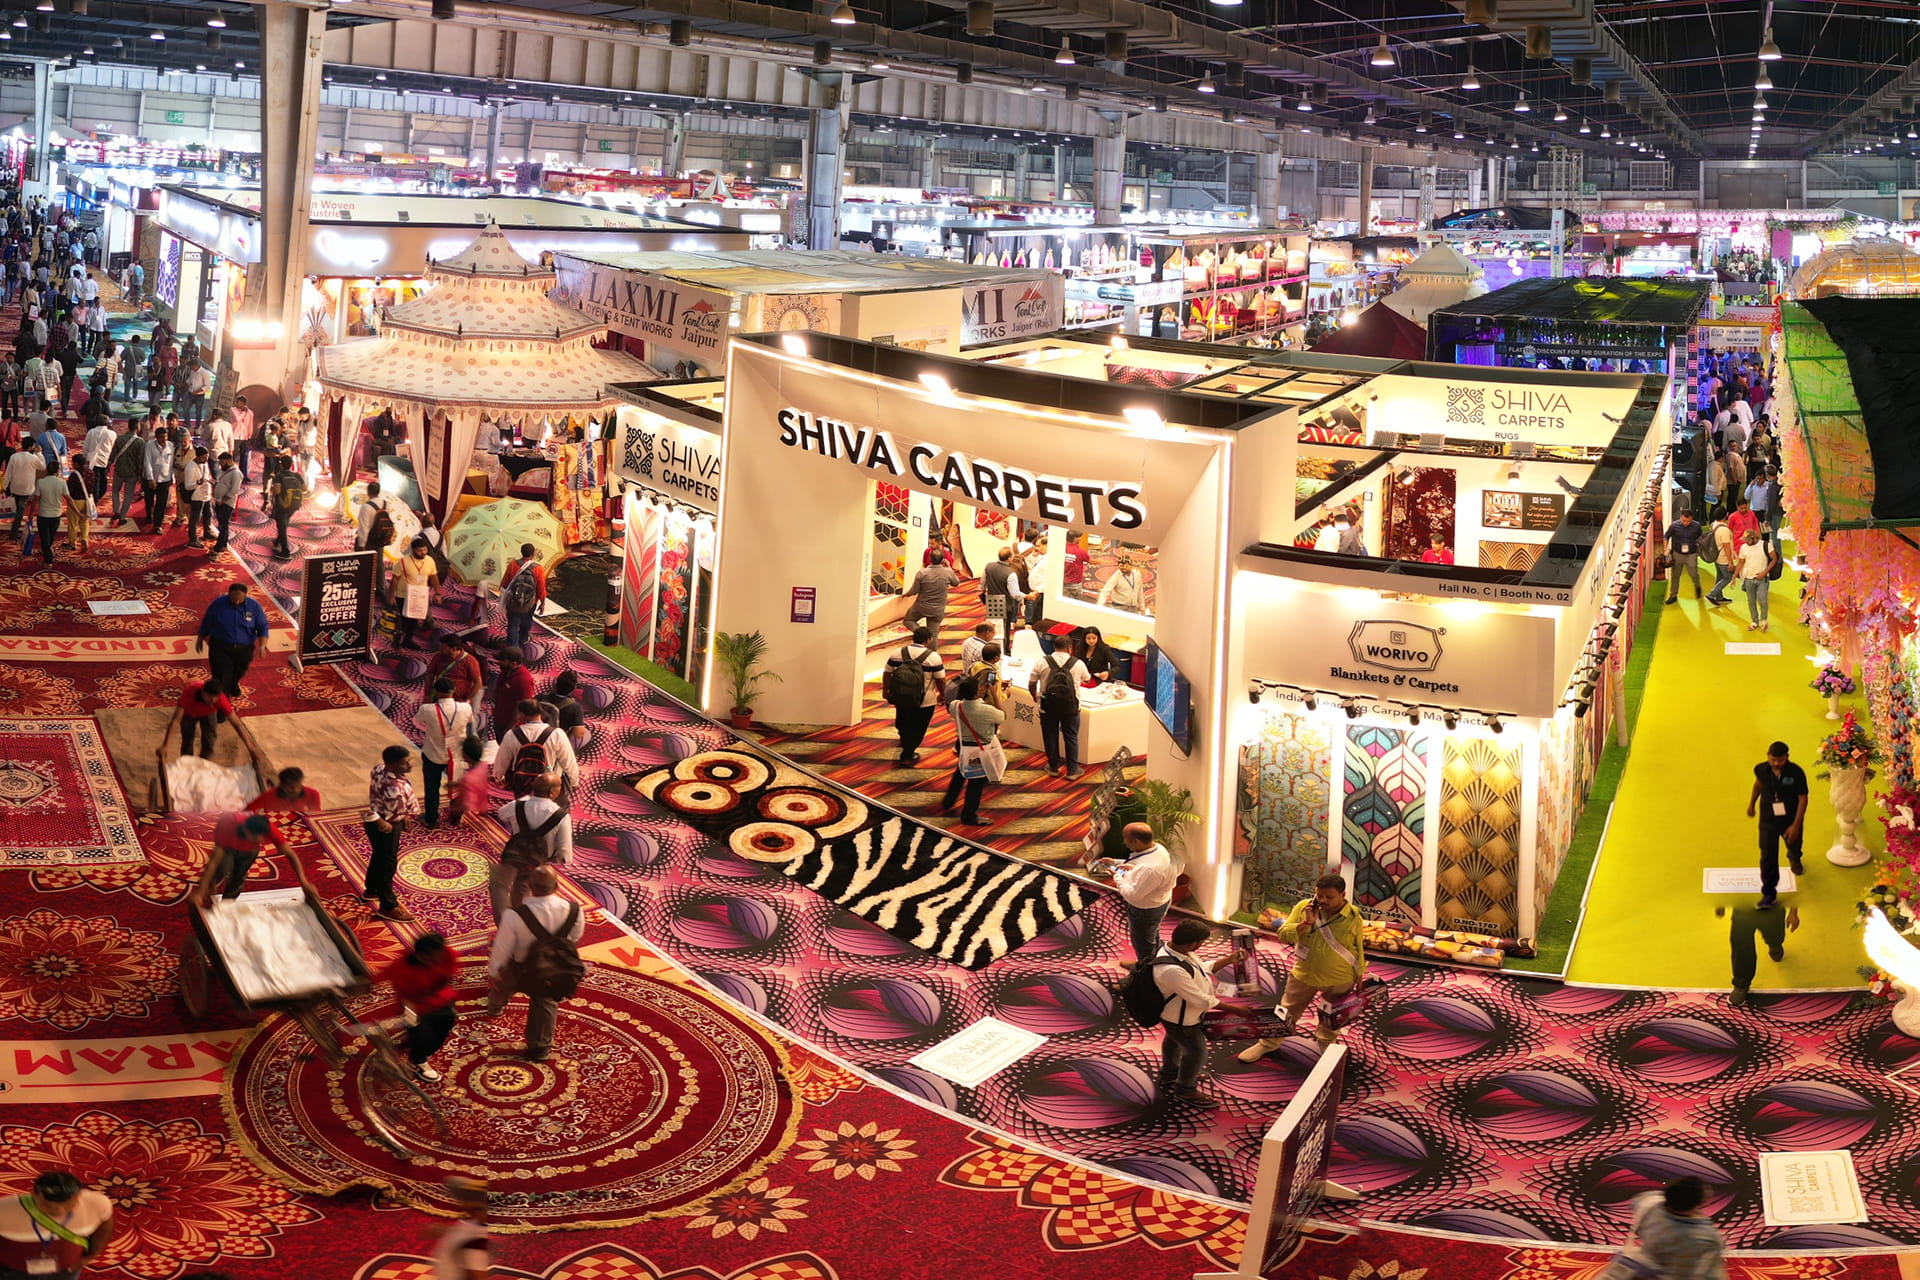
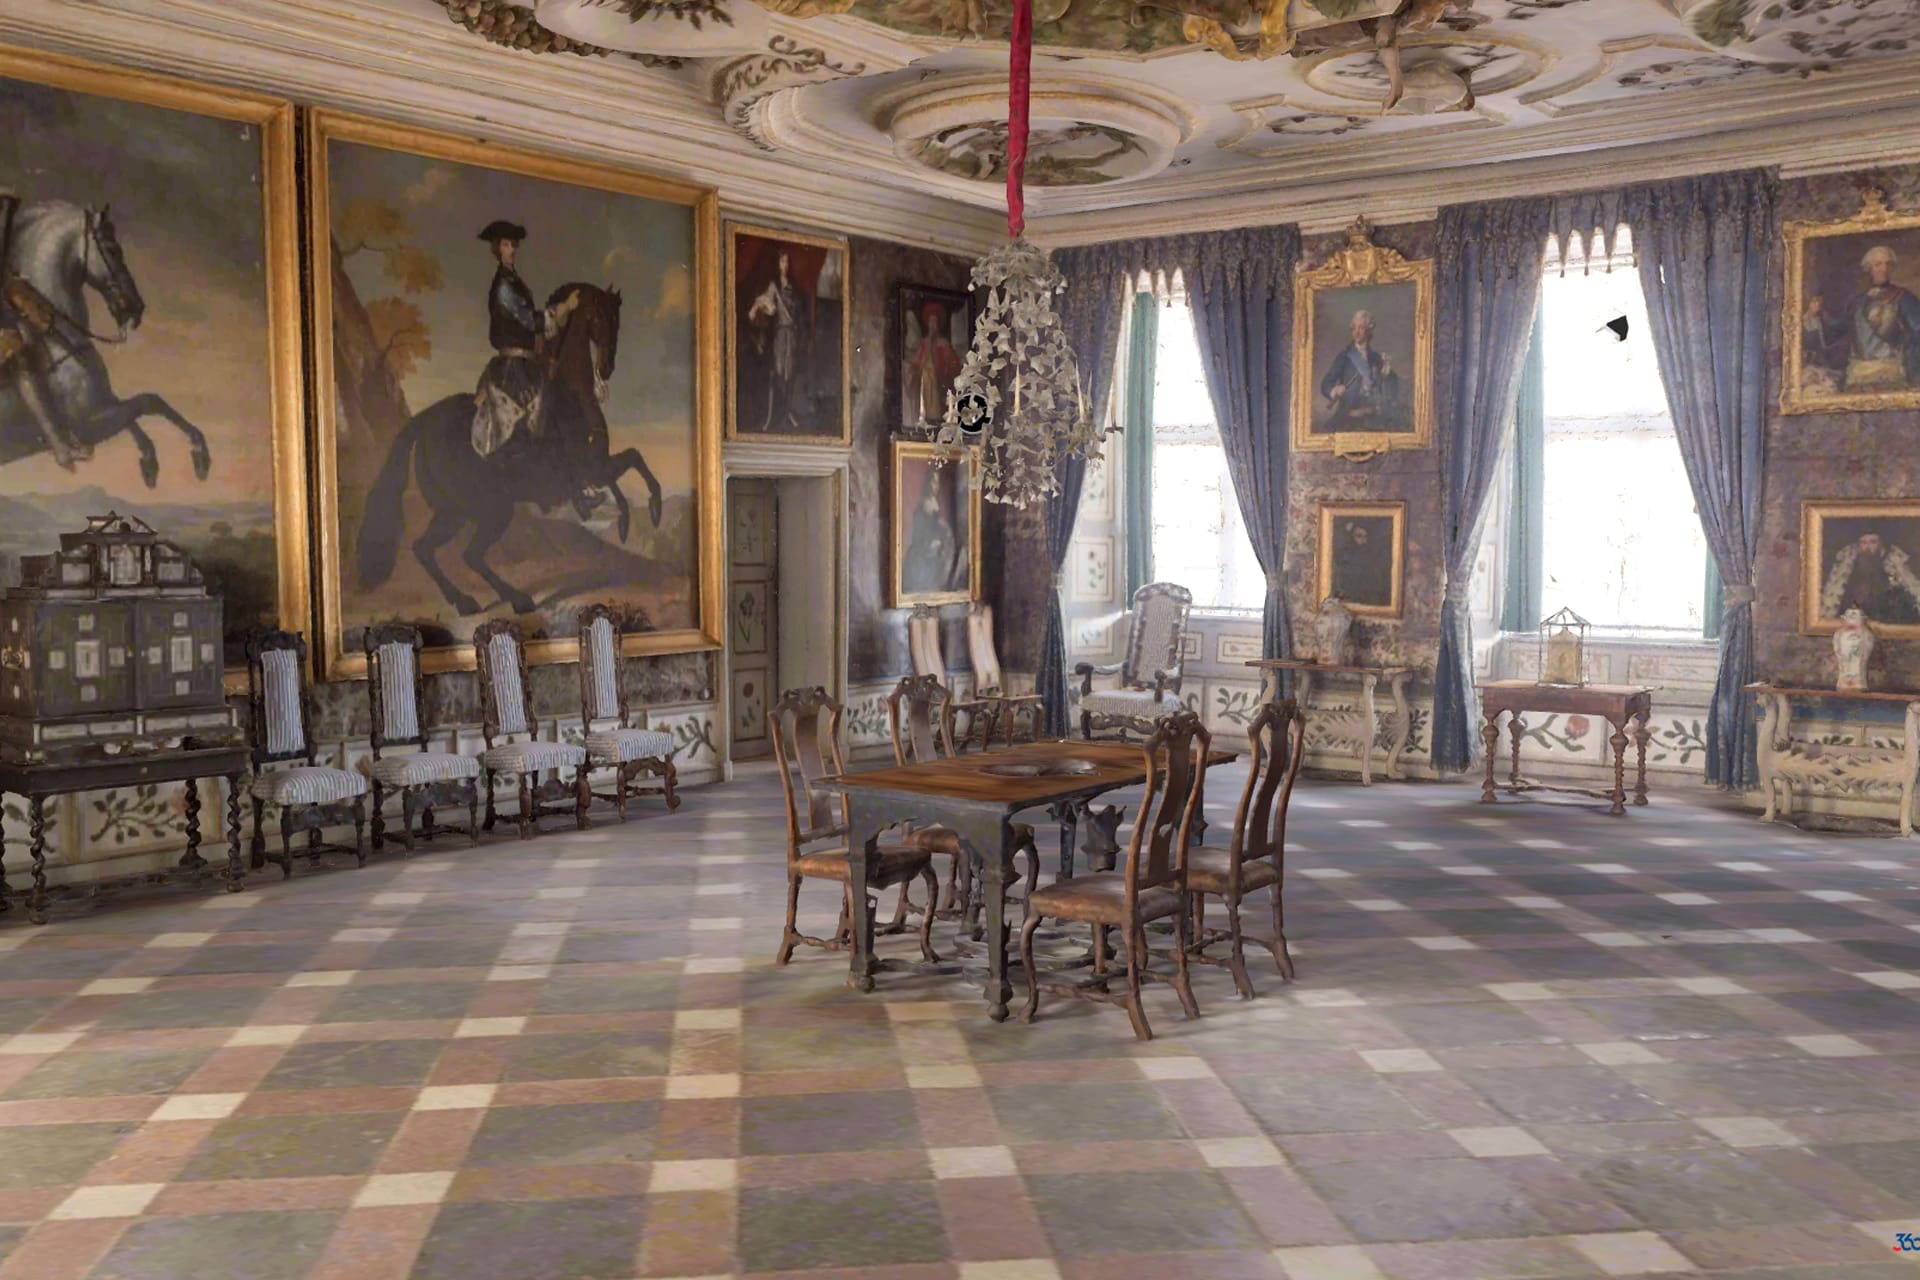
A picture may be worth a thousand words, but a 360° virtual tour is worth a thousand pictures. From real estate property walkthroughs to hotel previews and retail store experiences, 360 virtual tours have become an essential tool for businesses to engage customers, build trust, and drive sales.
But how exactly is a virtual tour created? What happens behind the scenes, and what does it take to go from an idea to a polished, interactive experience?
In this article, we’ll walk you through the entire workflow of 360 virtual tour development — step by step. Whether you’re a business owner, marketer, or developer, this guide will help you understand the process, set clear expectations, and ensure your virtual tour stands out.
Step 1 – Define Your Goal and Target Audience
Every successful project starts with clarity. Ask yourself:
- Who is my audience? Homebuyers? Hotel guests? Students? Shoppers?
- What do I want them to do? Book a room, schedule a visit, make a purchase?
- Where will they view this tour? On a website, VR headset, or Google Maps?
Having clear goals ensures the tour is not just visually appealing but also functional and aligned with your marketing objectives.
Step 2 – Plan the Virtual Tour Structure
Before shooting begins, map out the customer journey inside the tour. This involves:
- Selecting locations or rooms: For a hotel, this might include the lobby, rooms, pool, and restaurant. For real estate, bedrooms, kitchen, backyard.
- Storyboarding flow: Decide how users will move from one scene to another.
- Adding interactive layers: Hotspots to display product info, embedded videos, or CTAs like “Book Now”.
A well-structured plan ensures users don’t just view the tour but interact with it meaningfully.
Step 3 – Capture High-Quality 360° Photography & Videos
The heart of any virtual tour is its visuals. For this step:
- Use professional 360 cameras (e.g., Insta360, Ricoh Theta) or DSLR setups with fisheye lenses.
- Stabilize shots using a tripod.
- Stage spaces: clean, declutter, and ensure proper lighting.
- Capture multiple angles to avoid gaps and blind spots.
Poor-quality images can ruin the immersive experience, so investing in good equipment and skilled photographers is essential.
Step 4 – Stitching & Editing the 360° Images
Once images are captured, they need to be stitched together into seamless panoramas. This step involves:
- Using software like PTGui, Kolor Autopano, or Adobe Photoshop.
- Correcting colors and exposure.
- Retouching imperfections (removing tripods, wires, or reflections).
- Adding brand logos or watermarks for professional presentation.
Good editing ensures that the tour feels natural, smooth, and visually engaging.
Step 5 – Add Interactivity and Features
A static panorama is good — but an interactive one is unforgettable. Developers can enhance tours with:
- Hotspots to navigate rooms or display text, videos, and product info.
- Audio guides or narration for museums and educational tours.
- Floor plans or maps for navigation.
- AR/VR compatibility for next-level immersion.
These interactive layers transform a simple panorama into a marketing tool.
Step 6 – Hosting & Deployment
Once ready, the tour needs to be hosted online. Options include:
- Cloud hosting (fast and scalable).
- Self-hosting with HTML5 for full control.
- Integration with websites via embed codes or plugins (WordPress, Joomla, custom CMS).
Cross-device compatibility is crucial — your tour should run smoothly on desktop, mobile, and VR headsets.
Step 7 – Testing & Quality Assurance
Before launching, test extensively:
- Check load times and optimize file sizes.
- Verify hotspot accuracy and navigation flow.
- Test across browsers (Chrome, Safari, Firefox, Edge) and devices (iOS, Android, tablets).
This ensures the end-user experience is smooth and frustration-free.
Step 8 – Launch & Marketing the 360 Virtual Tour
A great virtual tour deserves visibility. Promote it by:
- Embedding on your website landing pages.
- Sharing on social media with short teaser videos.
- Adding to Google My Business / Maps for local SEO.
- Using email campaigns to attract clients.
Don’t forget to optimize with proper schema markup, meta tags, and sitemaps so search engines index your tour.
Step 9 – Analytics & Continuous Improvement
The work doesn’t end at launch. Track how users interact with your tour:
- Heatmaps to see where visitors click.
- Analytics dashboards to measure engagement, bounce rate, and conversions.
- A/B testing different CTAs or layouts.
Updating tours with seasonal offers, new products, or remodeled spaces keeps them fresh and relevant.
Conclusion
The journey from idea to launch in 360 virtual tour development involves much more than photography. It’s a carefully planned process that combines strategy, creativity, and technology.
By following this workflow — defining goals, planning structure, capturing and editing visuals, adding interactivity, hosting, testing, and marketing — you can create a virtual tour that not only looks stunning but also delivers measurable business results.
Ready to create your own immersive experience? 360Biznus specializes in custom 360 virtual tour development that helps businesses convert more leads and delight customers. Contact us today to get started!
Get in Touch
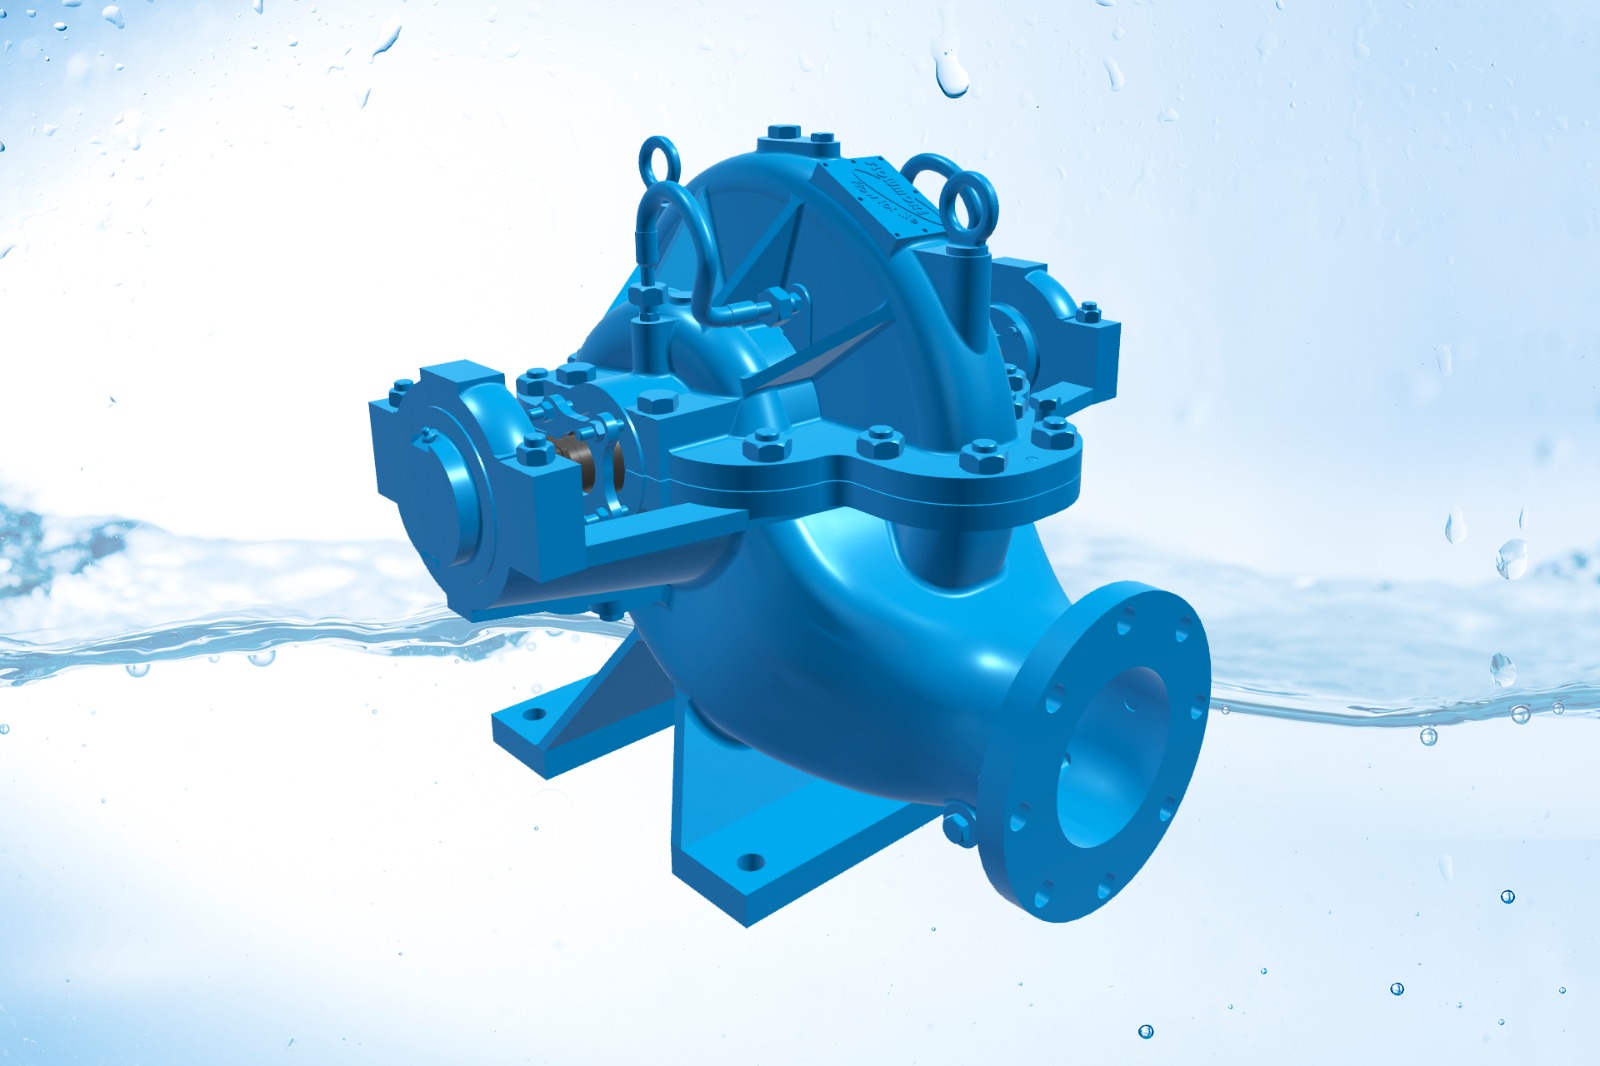
Whether you want to develop a new 360 Virtual Tour, 3D Product Display, 360 Product Spin Photography, Google 360 Street View or update an existing 360 Virtual Tour, we're eager to assist.
Call / Email Us / fill in the form below.