What to Expect During a 360 Virtual Tour Shoot: A Client’s Guide
Investing in a 360 virtual tour is a great way to showcase your business, property, or venue in an immersive and engaging way. These tours offer a unique opportunity for potential customers to explore your space as if they were physically there, enhancing engagement and driving interest. However, if you’re considering a 360 virtual tour for the first time, you might be wondering what the process involves. In this client’s guide, we’ll walk you through what to expect during a 360 virtual tour shoot, so you can be fully prepared and get the best results from your investment.
Why Choose a 360 Virtual Tour?
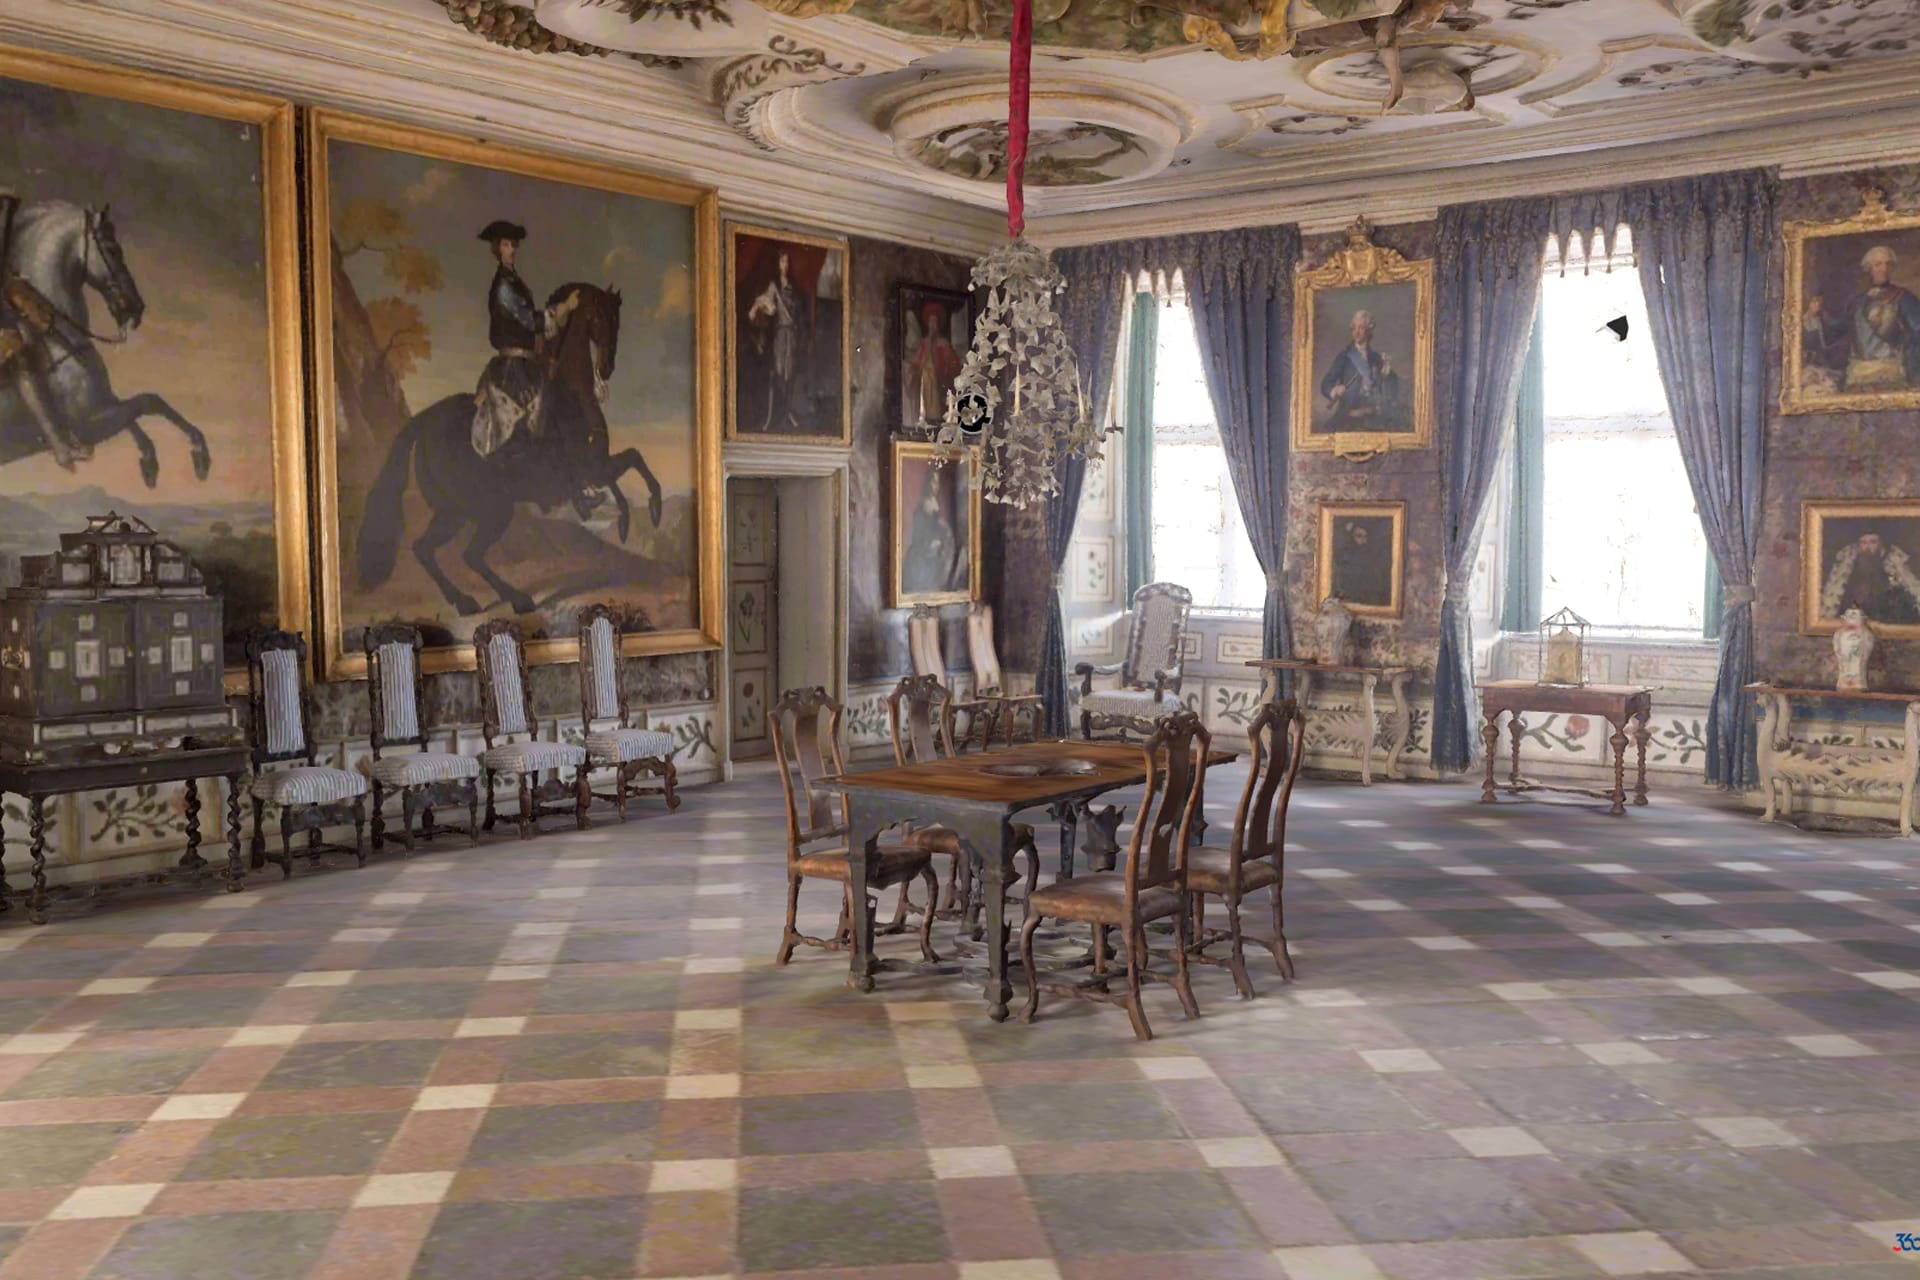
Before diving into the shoot details, it's worth understanding why 360 virtual tours are such a valuable marketing tool. Unlike traditional photos or videos, 360 virtual tours allow viewers to navigate through a space interactively, exploring every angle and corner. This level of immersion can significantly enhance user engagement, improve customer trust, and boost conversions, making it a smart choice for businesses across various industries.
Preparing for Your 360 Virtual Tour Shoot
Preparation is key to a successful 360 virtual tour shoot. Here’s how you can get ready:
Clean and Organize Your Space
- Ensure that the area being photographed is clean and well-organized. A clutter-free space looks more appealing and professional. Remove any items that might distract viewers or detract from the aesthetic of the tour.
Set the Lighting
- Good lighting is essential for capturing high-quality images. Make sure that all areas are well-lit, using natural light whenever possible. If certain spots are too dark, consider adding extra lighting to ensure even illumination throughout the space.
Stage Your Space
- Staging your space helps create a welcoming and attractive environment. Arrange furniture, decor, and any other elements to showcase your space in the best possible way. Consider adding fresh flowers, artwork, or other visual elements to enhance the aesthetic appeal.
Notify Your Staff and Guests
- If your shoot is taking place in a public or semi-public space like a hotel, restaurant, or office, let your staff and any guests know about the shoot in advance. This ensures everyone is prepared and aware of what to expect, minimizing disruptions during the shoot.
What Happens During a 360 Virtual Tour Shoot?
A 360 virtual tour shoot is a collaborative process between you and the photographer. Here’s what you can expect during the shoot:
- Arrival and Setup
The photographer will arrive at the agreed-upon time to set up their equipment. This typically includes a 360-degree camera, tripod, and sometimes additional lighting equipment. The setup process usually takes around 30 minutes to an hour, depending on the size and complexity of the space.
- Walkthrough and Planning
Before the shooting begins, the photographer will conduct a walkthrough of the space with you. This helps them understand the layout, identify key areas to highlight, and discuss any specific shots or angles you want to be included in the tour. During this walkthrough, you can provide input on what you want to showcase and any elements you want to avoid capturing.
- Capturing the Shots
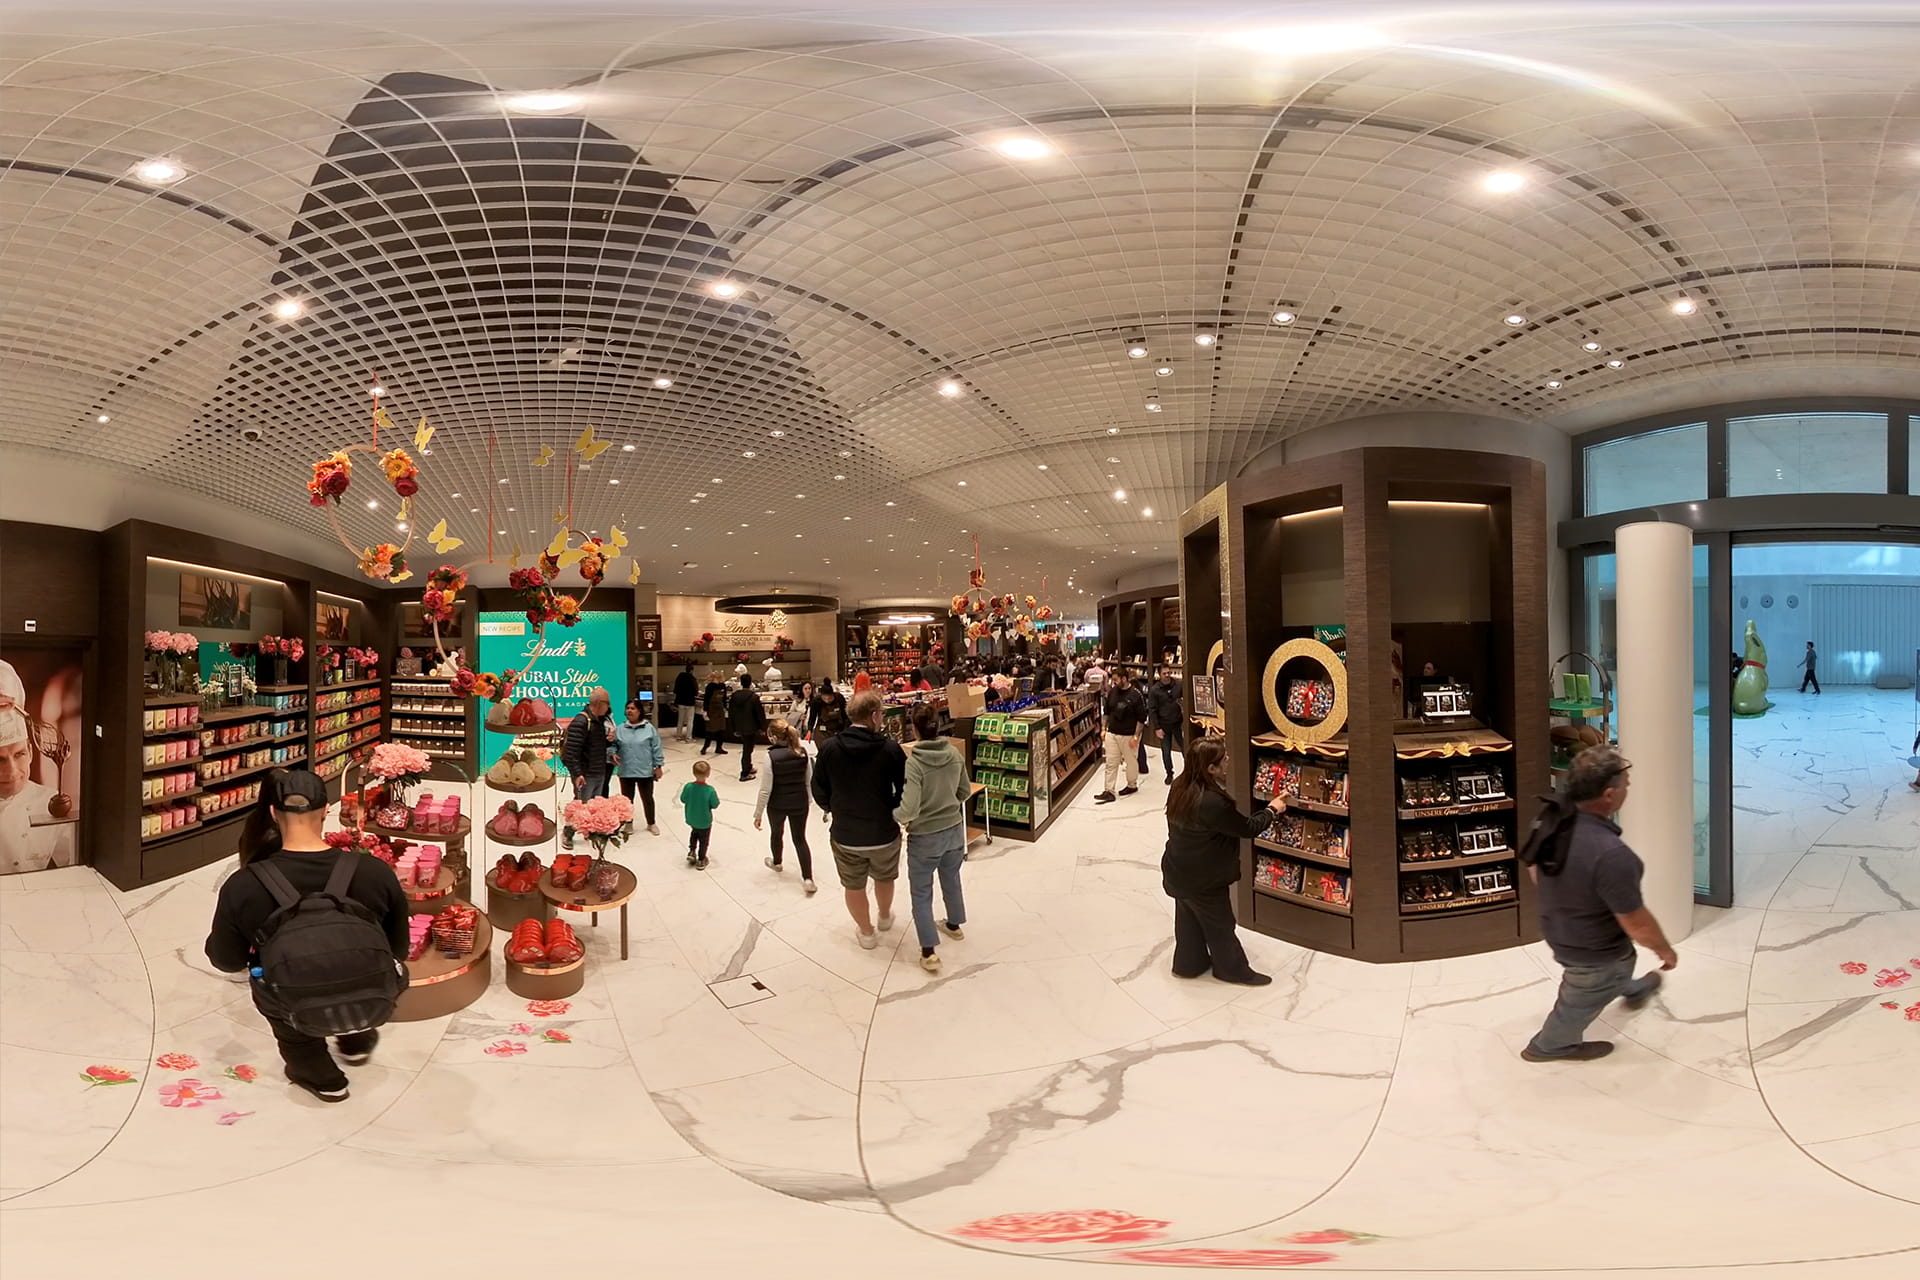
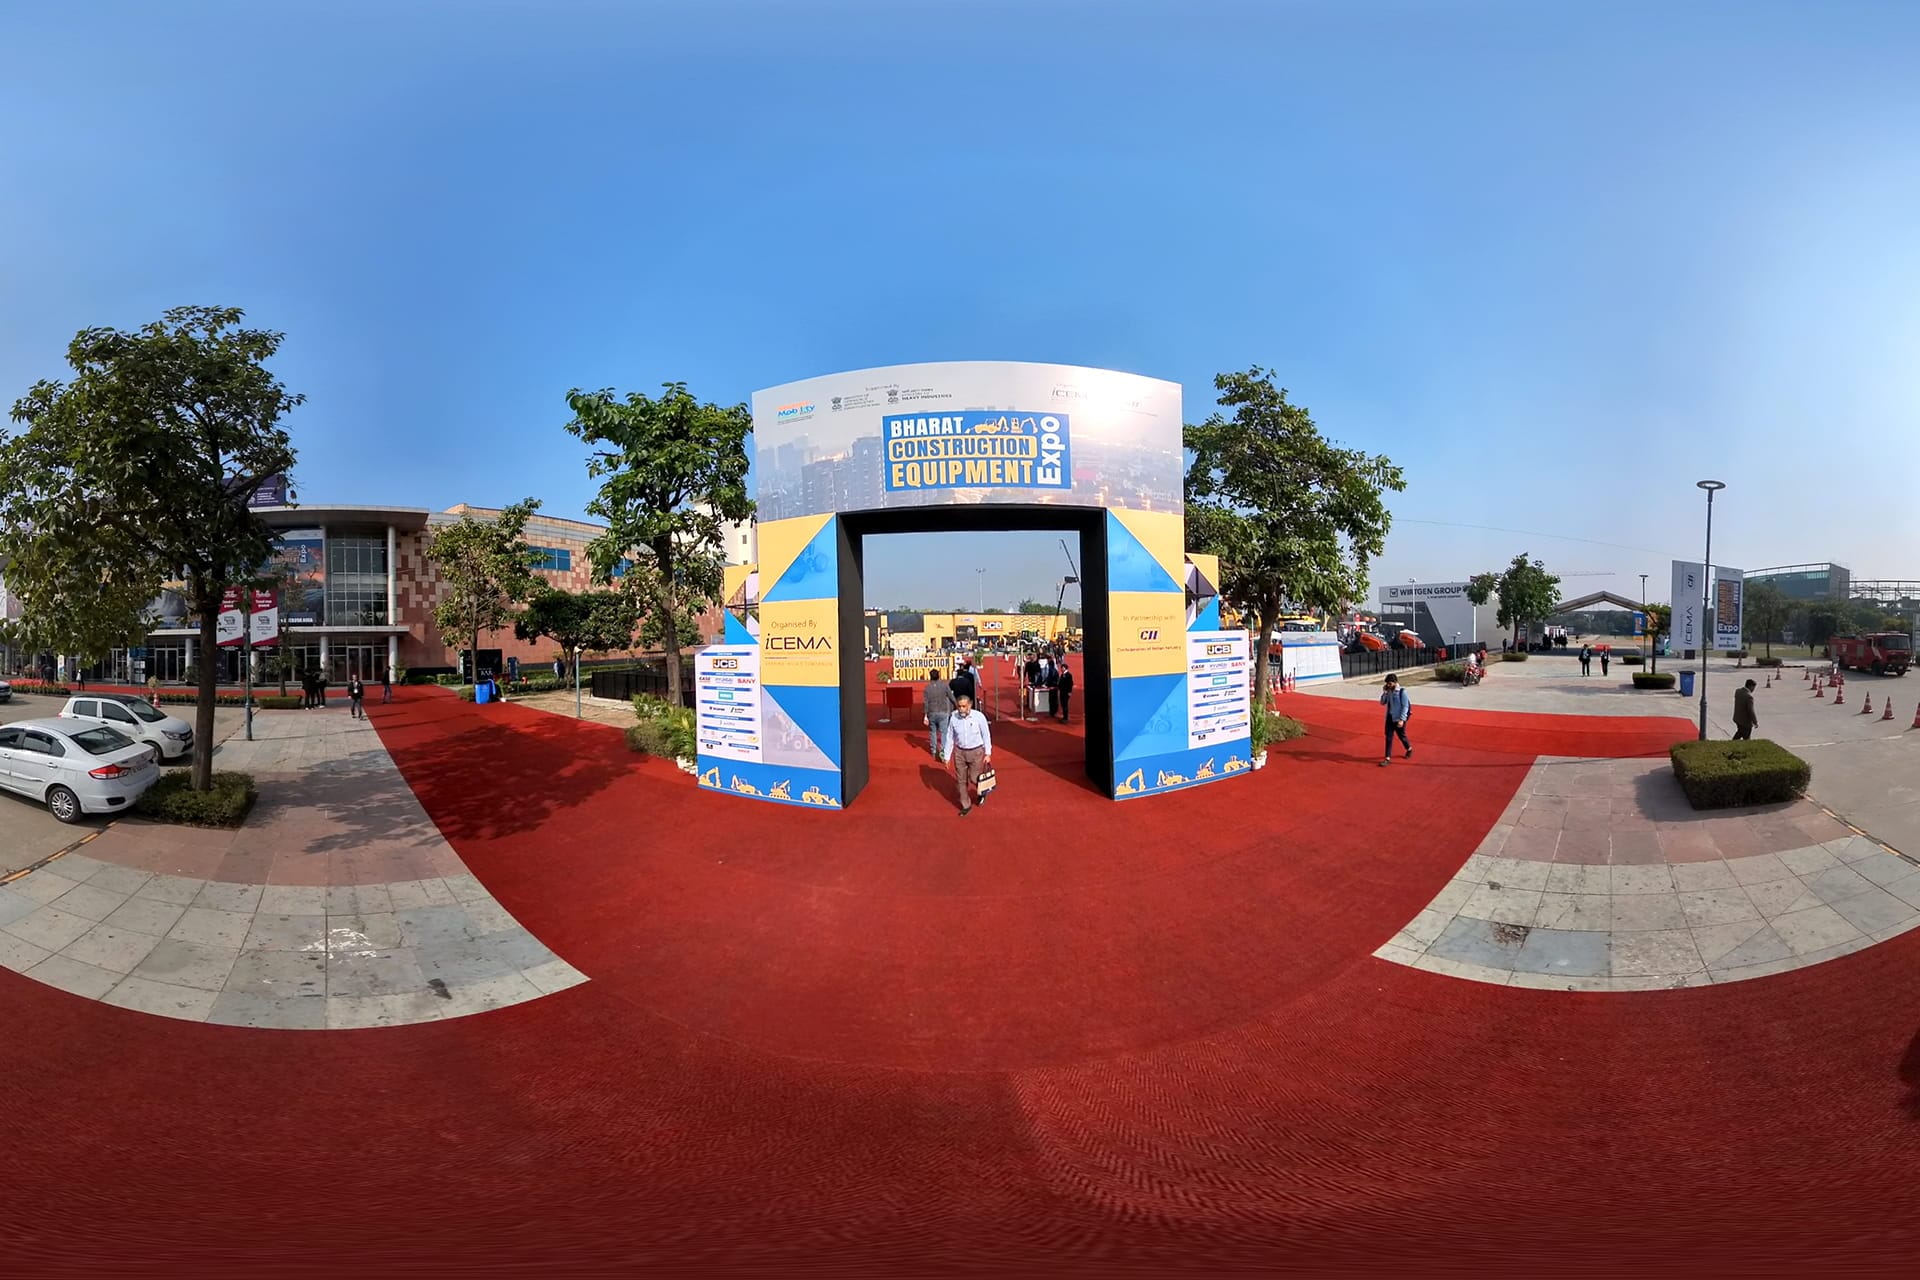
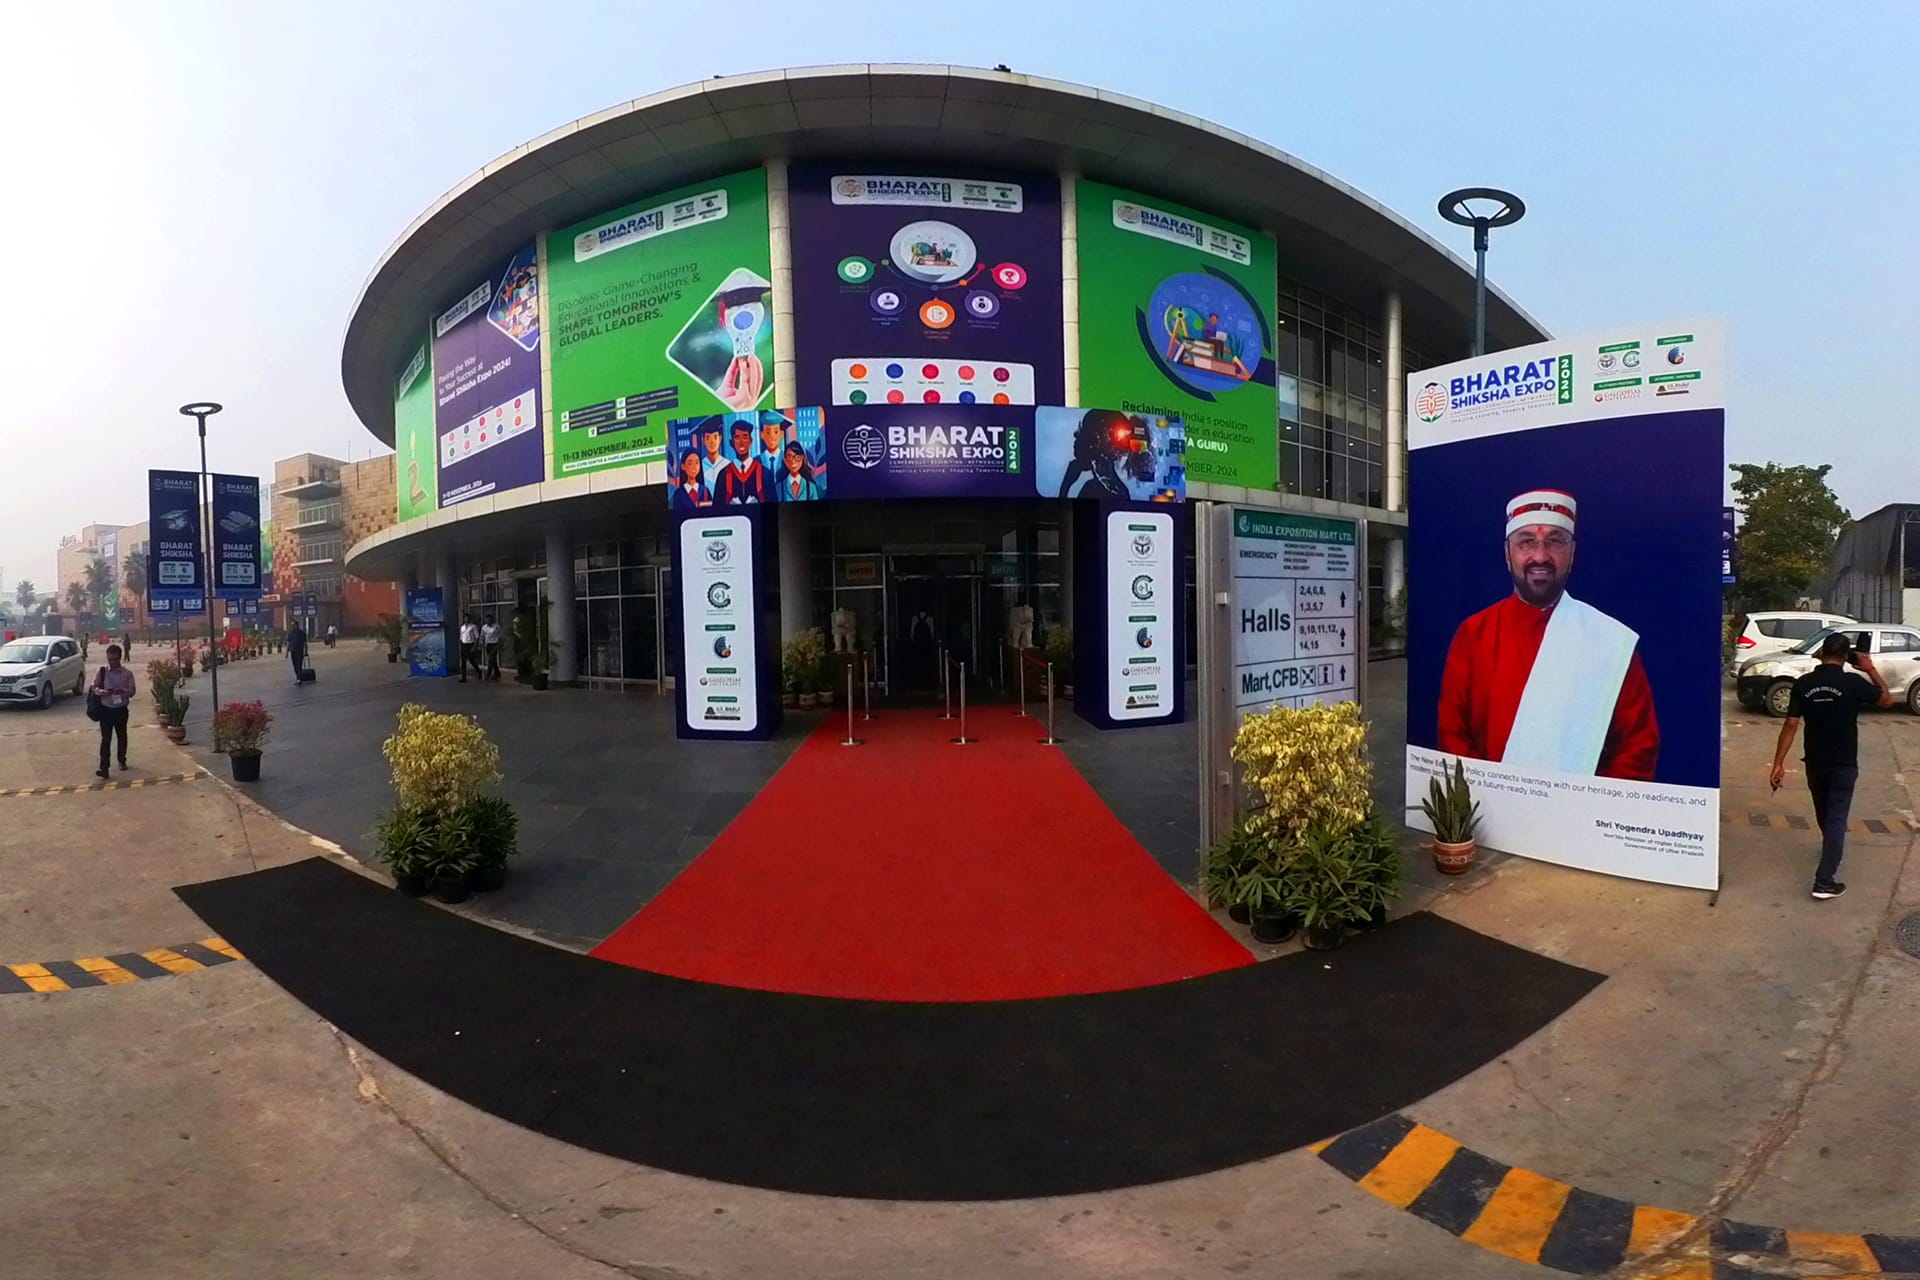
The shooting process involves capturing multiple 360-degree images at various points throughout the space. The photographer will place the camera in the center of each area and take a series of shots, rotating the camera to capture a complete 360-degree view. Depending on the size and complexity of your space, this process can take anywhere from a few hours to a full day.
- Adjusting for Optimal Lighting and Angles
Throughout the shoot, the photographer will make adjustments to the lighting and camera placement to ensure the best possible shots. This may involve moving furniture, adjusting curtains or blinds, or temporarily turning off lights that create glare. The goal is to capture high-quality images that accurately represent your space.
- Reviewing the Shots
Once the initial shots are captured, the photographer will review them to ensure they meet the desired quality and coverage. This is a great time to provide feedback if you notice any areas that need to be retaken or adjusted. The photographer may take additional shots to fill any gaps or capture alternative angles.
- Interactive Elements and Hotspots
If your virtual tour includes interactive elements or hotspots, the photographer may take additional shots or notes to integrate these features during post-production. Hotspots are clickable areas within the tour that provide additional information, such as text descriptions, videos, or links to external websites.
After the Shoot: What’s Next?
After the shoot is completed, there are several steps that take place behind the scenes to create your final 360 virtual tour:
- Image Stitching and Editing
The photographer will use specialized software to stitch the multiple images together into a seamless 360-degree panorama. This process involves blending the edges of each shot to create a cohesive image. The photos are then edited for color correction, brightness, contrast, and other enhancements to ensure the final product looks polished and professional.
- Adding Interactive Features
If you requested interactive elements, such as hotspots or informational pop-ups, these will be added during the editing process. The photographer will integrate these features into the virtual tour to provide a more engaging experience for viewers.
- Quality Assurance and Review
Once the editing is complete, the photographer will conduct a quality assurance check to ensure the virtual tour meets all specifications and is free of errors. You will then have the opportunity to review the tour and request any final adjustments before it goes live.
- Publishing and Integration
After you approve the final version, the 360 virtual tour will be published and made available for integration into your website, social media channels, or Google My Business profile. The photographer will provide you with the necessary files and instructions for embedding the tour on your desired platforms.
Tips for a Successful 360 Virtual Tour Shoot
To ensure a smooth and successful shoot, consider the following tips:
- Communicate Clearly: Share your vision and goals with the photographer before the shoot. This helps ensure that the final product aligns with your expectations.
- Be Prepared: Have your space clean, organized, and staged before the photographer arrives. This saves time and ensures the shoot goes smoothly.
- Provide Feedback: Don’t hesitate to provide feedback during the shoot. The photographer is there to capture your space in the best possible way, and your input is valuable.
- Stay Flexible: Be open to suggestions from the photographer. They have the expertise to capture your space in the most effective way and may suggest changes to enhance the final product.
Conclusion
A 360 virtual tour shoot is an exciting opportunity to showcase your space in an innovative and engaging way. By understanding what to expect during the process and preparing accordingly, you can ensure a smooth shoot and a high-quality final product that effectively represents your business. Whether you're in real estate, hospitality, retail, or any other industry, a well-executed 360 virtual tour can enhance your marketing efforts, attract more customers, and drive growth. Ready to get started? Contact a professional 360 virtual tour service provider today and take the first step towards creating an immersive experience that will set your business apart.


